
Hi friends, Milene here!
I'm so happy to be back designing for Crafty Doodle Chick! I have a fun Halloween window slider card to share with you today. Halloween is only a few days away! Let's get started with the tutorial.
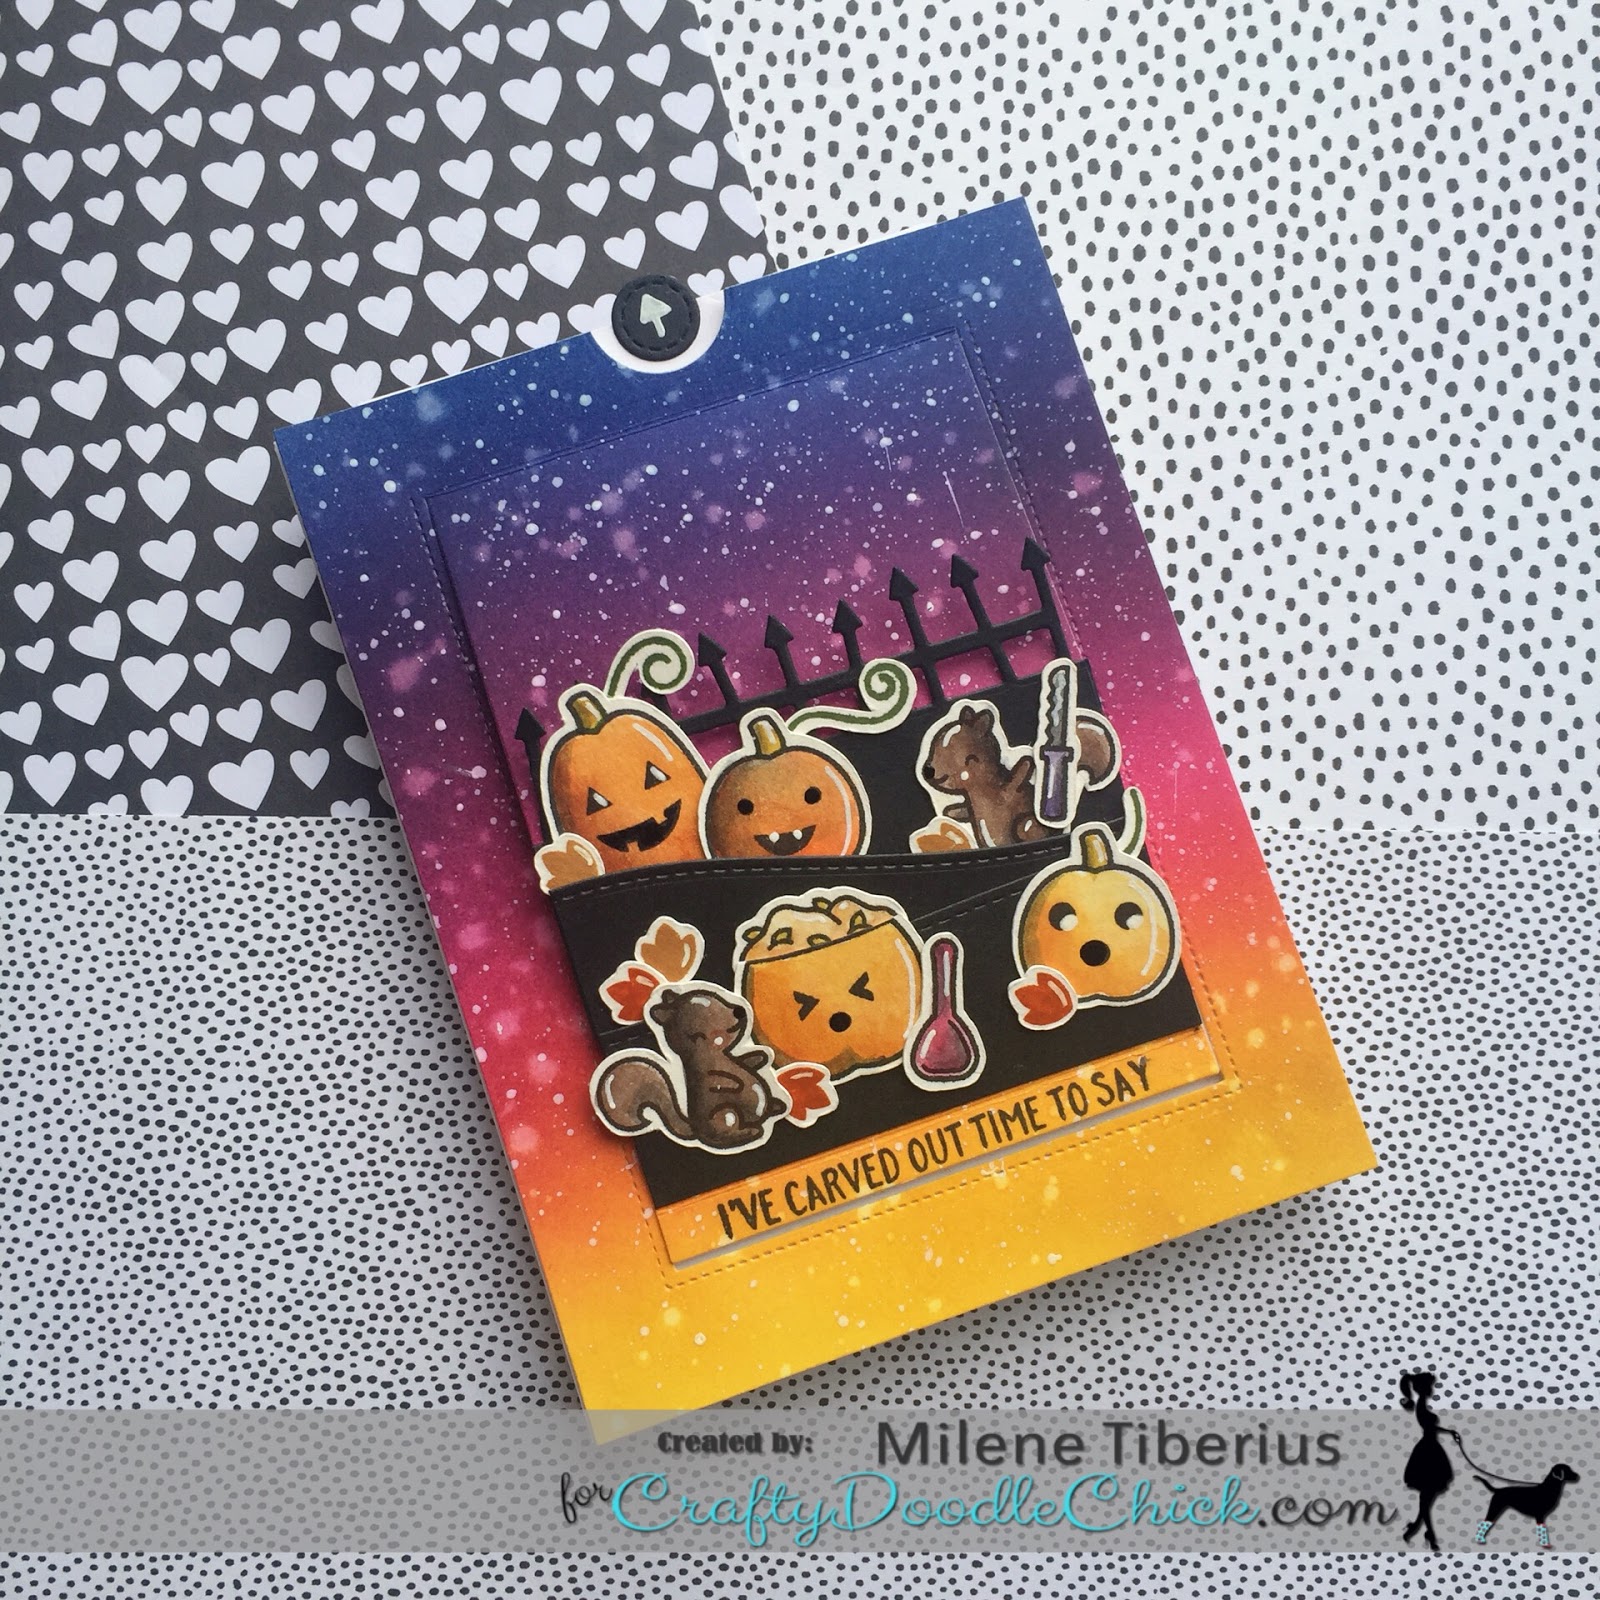
I started out with my ink blended sky, so that I could set it aside to dry. I used a combination of five Distress Inks: Mustard Seed, Picked Raspberry, Seedless Preserves, Salty Ocean and Chipped Sapphire). This ink blending combination was inspired by Kristina Werner. After applying the ink on the Bristol Smooth paper, I added splatters of clean water and opaque acrylic white paint. I also added extra "stars" using a white gel pen.
Once my background was done, I set it aside to dry. You want to make sure that your ink blending is completely dry before die cutting the sliding window.

I stamped all of the images from the Lawn Fawn Pick of The Patch stamp set on watercolor paper, using Gina K's Amalgam ink. I watercolored the squirrels and pumpkins using Daniel Smith watercolors. I left the pumpkin faces to be stamped after the watercoloring was done. At this point, I realized I would also like to add the solid leaf image to my design. I stamped it several times on the same watercolor paper, using two different dye inks. For a finishing touch, I added white highlights to all of the images.

Die cutting was next! I ran the ink blended piece through my die cutting machine, using the largest die from the Sunny Studio Sliding Window die set. I also used the little notch die on the very top to create the circle opening. I scored and reinforced the lines that the die created. I then used black cardstock to die cut the Lawn Fawn Spooky Fence for the backdrop of my pumpkin patch. I also die cut three hills using the same black cardstock.
The Sliding Window leaves a thin border on the bottom of the sliding piece. I thought that was the perfect place to stamp the initial part of my sentiment! I stamped it using the same Gina K Amalgam ink. The remaining part of the sentiment was heat embossed on black cardstock. The black sentiment strips and a few images were added to the inside of the sliding mechanism.

I assembled the scene so that the Spooky Fence border would be the element to pop up when pulling on the tab. That was definitely my favorite part of this whole project! I did add a black die cut circle to notch opening, along with an arrow that I created myself. That will indicate the interactive element to the recipient.
I had a few pumpkin images left after assembling the card front, so those were added to the inside of my card.

I hope this project has inspired you to create spooky scenes before Halloween is here!
Thank you for stopping by and I will see you next week,

Beautiful!!!!
ReplyDelete